Your windshield wipers stop halfway up the glass. They sweep too far and hit the A-pillar. They squeak every time you turn them on. Clearly, it is time for a new set of windshield wiper brake pads.
April Fools! Windshield wiper brakes, as shown here with miniature rotors, calipers, and replaceable pads, are a joke, not a real maintenance item. Do not take your wiper system apart looking for them, and do not use this staged repair as a service procedure for your vehicle.
The fun is in making a completely made-up job look like an ordinary driveway repair. We have a Mustang, common hand tools, convincing parts packaging, tiny brake hardware, and even a torque specification. Beautiful. Here is how the whole gag comes together.
The Setup: Tiny Brakes at the Base of the Wipers
On the Mustang, the supposed wiper brakes sit right at the base of each windshield wiper arm. There is a little drilled rotor and a matching caliper on each side, just visible through the openings in the windshield cowl.
The explanation for those exposed rotors? I have supposedly removed their dust boots to improve airflow and keep the brakes cool. A performance modification for your windshield wipers, naturally.
That detail also provides a convenient explanation for why you have never noticed these parts on your own car: the stock dust boots supposedly hide them. Remove the cowl and boots, and there they are. It sounds just plausible enough when delivered with the same confidence as a normal repair tip.
Three “Symptoms” of Bad Wiper Brakes
The diagnosis starts with three recognizable wiper complaints. The symptoms make the setup relatable, but the brake-pad explanations are part of the prank, not actual troubleshooting advice.
- Incorrect resting position: The Mustang’s wipers sit too high on the windshield. The fictional diagnosis is that worn brakes can no longer stop them in the correct spot.
- Too much travel: A wiper sweeps far enough to contact the A-pillar. In the joke, the brakes are not slowing the arm down before it reaches the edge.
- Squeaking or screeching: Instead of blaming the wiper blade, the explanation points to tiny brake-pad wear indicators announcing that replacement is due.
There is even a little qualification to make the diagnosis sound more authentic: supposedly, not every vehicle has wiper brake pads with wear indicators, so not every worn set will squeak.
Wiper positioning, excessive travel, and noise deserve proper attention on a real vehicle. This fictional diagnosis does not establish what causes any of them.
The Tools and the Very Convincing Parts Kit
Every good driveway repair starts with the tools laid out neatly. For this one, the workbench includes locking pliers, a torque wrench, Allen keys, a hammer, and safety glasses. A brush, vacuum, and towel come into play once the cowl is off.
Then there is the star of the show: a box labeled as an NRS windshield wiper brake pad set.
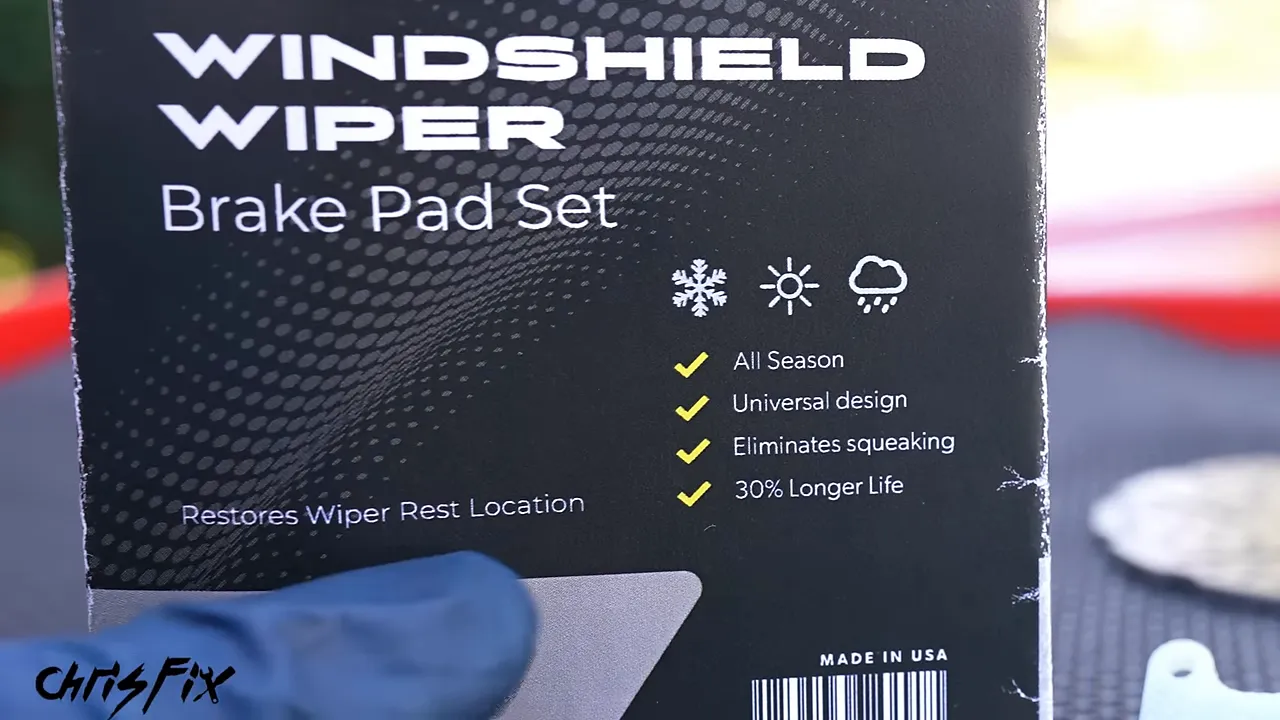
The box promises an all-season, universal design that restores the wiper rest location, eliminates squeaking, and lasts 30% longer. It also carries a made-in-the-USA marking. These are details of the gag packaging, not verified claims for a real wiper repair product.
The universal-fit explanation gets an upgrade of its own. Most vehicles supposedly use the same little pads, while fast supercars need bigger brakes to keep their wipers under control at high speeds. Apparently, even your wipers can need a big brake kit.
Each staged kit contains:
- A miniature brake caliper.
- Two small brake pads.
- A drilled brake rotor.
- Small springs, pins, screws, and other hardware.
The imaginary shopping rule is one kit per wiper arm. It is all presented as an easy job with common hand tools, complete with a warning about anyone claiming the repair is unusually difficult or expensive. The delivery is serious; the maintenance item is not.
Opening Up the Mustang
Removing the wiper arms and cowl
The demonstration begins by lifting each wiper arm, releasing the small retaining tab at its base, and wiggling the complete arm assembly off its mounting shaft.
That distinction matters: although the job is described casually as removing the blades, the assemblies come off at the pivots. This is not simply a rubber blade replacement.
Next comes the plastic cowl beneath the windshield. There is a warning to avoid cracking it, followed immediately by a broken section and the reassuring explanation that it was already damaged. No problem, a replacement is ready.
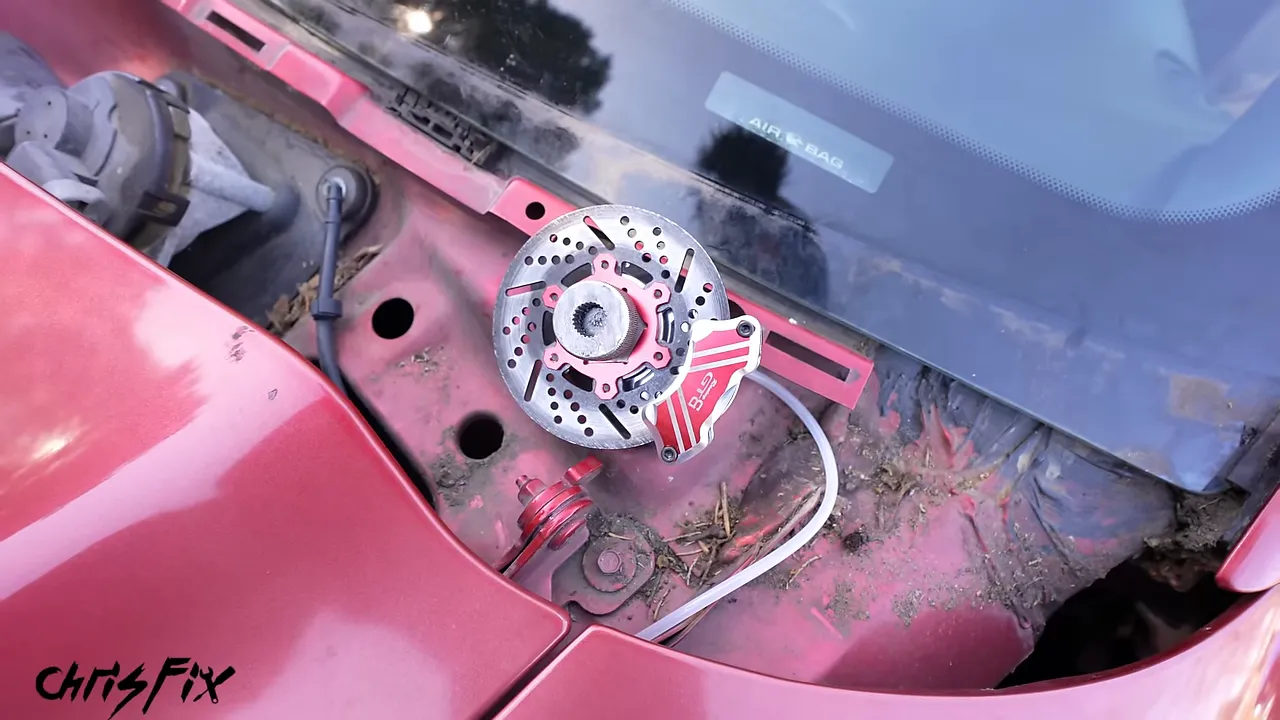
With the cowl removed, both miniature brake assemblies are exposed. The rotors are described as slightly worn but usable, and the calipers look good. That leaves the pads as the supposed culprit.
Cleaning before disassembly
There is dirt and debris in the exposed cowl area, so a brush loosens it and a vacuum removes it before any small parts come apart. Within the fictional repair, this is explained as preventing debris from entering the brakes and causing noise.
It is one of the touches that makes the sequence feel familiar: inspect the area, clean it, and only then open the assembly.
Inside the Fictional Wiper Brake Assembly
The following is a description of the staged mechanism, not instructions for servicing a real windshield wiper system. The miniature parts make it possible to mirror a brake job almost piece for piece.
Taking the little brakes apart
First, locking pliers grip the splined piece on top of the wiper shaft, called the “wiper sprocket” in the demonstration. Once that comes off, the rotor can eventually slide off the shaft.
Before opening the caliper, a towel is spread around the work area. The reason is simple: those tiny screws and springs could disappear into the cowl cavity. Even a made-up repair can have a very real hardware abyss.
A 3 mm Allen wrench removes the two caliper fasteners. The disassembly then follows this order:
- The upper caliper section lifts off.
- The first brake pad comes out.
- The miniature rotor slides off the shaft.
- Two small springs are removed from the locator pins.
- The locator pins and remaining pad come out.
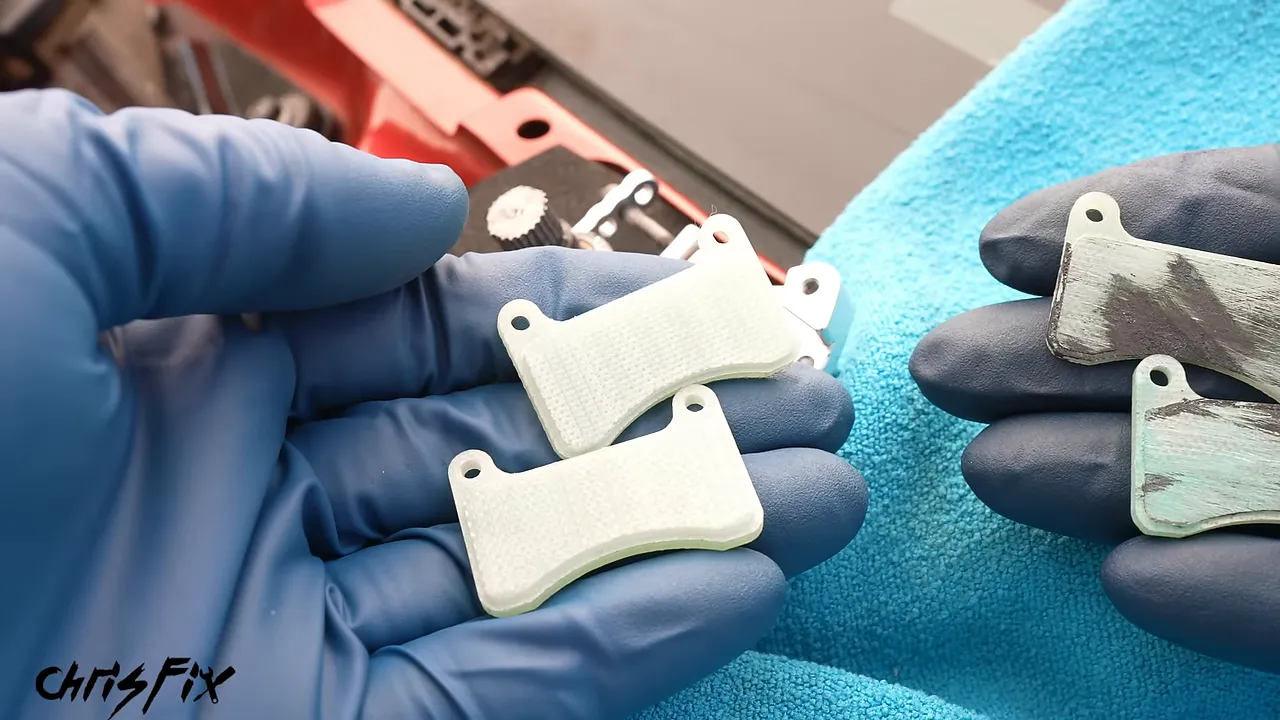
The removed pads have very little apparent friction material remaining. Dark marks are presented as evidence of overheating, setting up the classic comparison between worn parts and fresh replacements.
Putting the miniature assembly back together
Reassembly reverses the process. The locator pins go in first, followed by the lower pad with its friction material facing toward the rotor. The little springs fit over the pins, the rotor returns to the shaft, and the upper pad goes on with its friction material facing inward.
The explanation is that the springs separate the pads to prevent constant contact and “parasitic drag” on the wiper arms. It is a wonderfully serious explanation for a tiny fictional brake system.
The caliper top goes back on, and both fasteners are started by hand. Then comes the precision detail: a stated torque of 8 foot-pounds, or 96 inch-pounds.
That number belongs to the staged assembly. It is not a windshield wiper service specification for your car.
Finally, the splined top piece is aligned and lightly tapped back into place.
Repeating the job on the passenger side
The passenger side gets the same treatment: remove the splined piece, open the caliper, take out the pads and rotor, and rebuild the assembly with the replacement pads.
There is even a brief interruption after starting to loosen the fasteners: almost forgot the towel! It goes in before the small hardware comes out. Both sides are then tightened, and the top pieces are seated again.
Reinstalling the Cowl and Checking the Result
The replacement cowl is positioned beneath the windshield, snapped into place on the driver’s side, and tucked into position on the passenger side.
Next, the wiper arms return to their shafts. Their angular position, or clocking, gets special attention. Rather than reinstalling them high on the glass, they are lined up in the lower resting position shown in the demonstration.
The final test provides the satisfying payoff:
- The wipers sweep across the windshield.
- The driver’s side clears the A-pillar instead of striking it.
- Both arms return to the lower resting position.
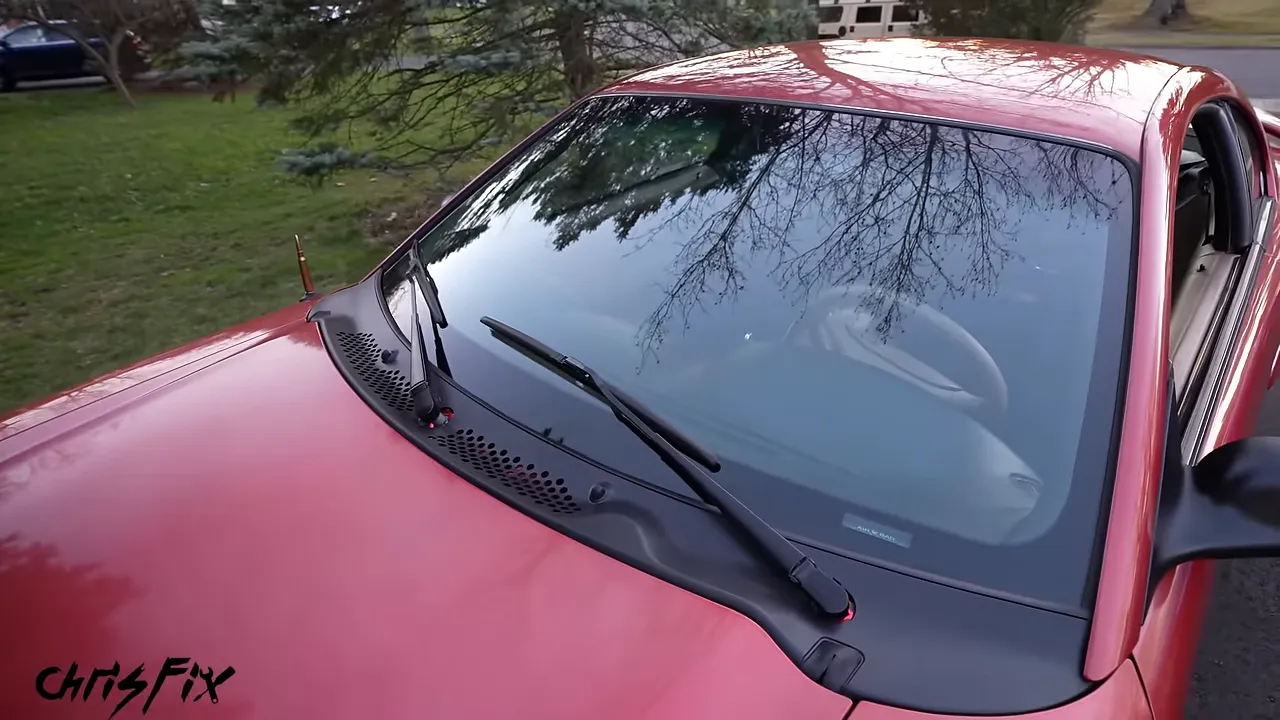
Perfect clearance, a tidy resting position, and a job that looks complete. Of course, the staged before-and-after does not demonstrate that miniature brake pads fix real wiper faults.
A Supercar Cameo and the Final Reveal
Just as the job wraps up, Shmee150 arrives in a yellow sports car while finishing an American road trip. His complaint fits the theme perfectly: his wipers will not go down.
What timing. The Mustang is finished, the tools are out, and apparently another set of wiper brakes needs attention.
Then comes the line that puts the whole repair in perspective: April Fools.
This belongs in the same garage as muffler bearing replacement and blinker fluid replacement. The packaging, miniature hardware, careful disassembly, and exact-sounding specifications all help sell the joke.
The useful takeaway is knowing where the joke ends. Enjoy the tiny brake job, but do not buy fictional wiper brake pads or apply its torque setting to your vehicle. If your actual wipers squeak, overtravel, or stop in the wrong position, they need a vehicle-specific diagnosis, not this April Fools’ repair.


