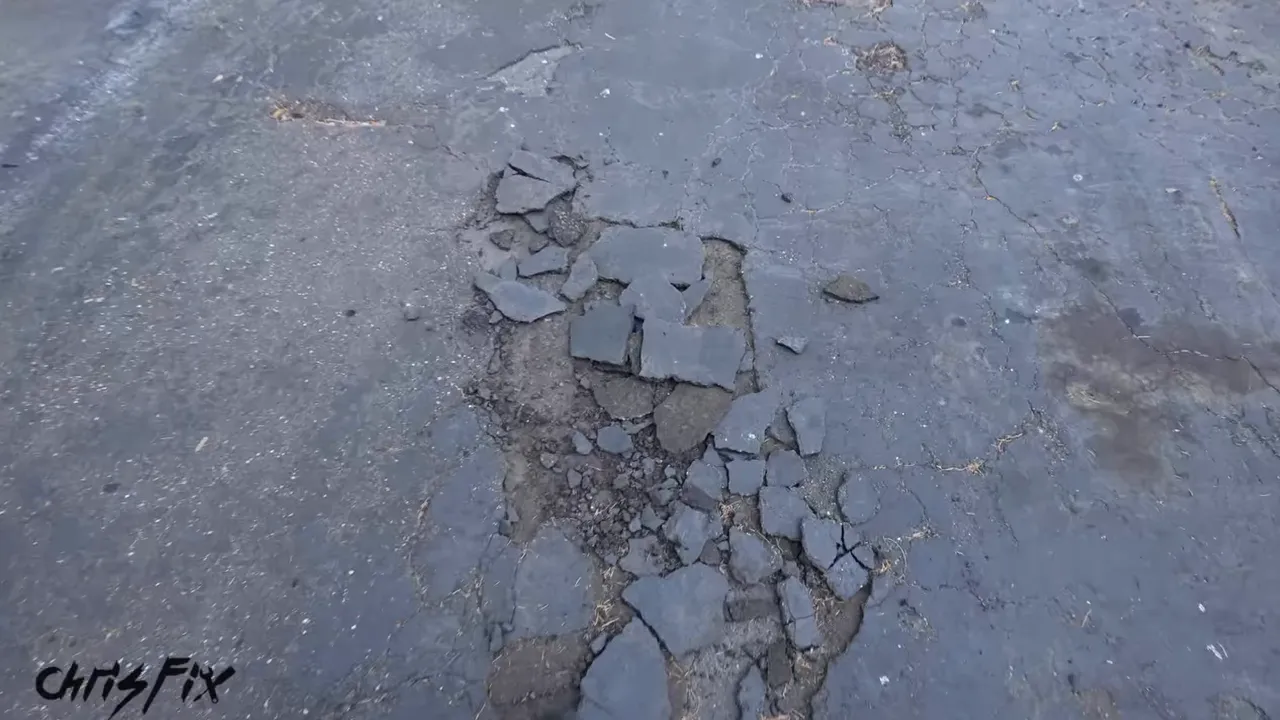
A driveway is more than a place to park when it doubles as your workspace. Mine is basically my office. After 10 years of car repairs, it had crumbling asphalt, potholes, uneven edges, and a sunken transition into the garage. Moving a heavy toolbox across that lip was a struggle, and a jack stand would wobble on the broken surface. It was time to fix it properly.
This was not a job for a bag of patch material and a few hand tools. The entire asphalt surface needed to come out, the foundation needed to be graded and compacted, and fresh hot mix asphalt needed to go down.
The finished driveway came out amazing, but the important work happened before that smooth black surface appeared. Here is the complete driveway replacement process, including the equipment, base preparation, paving, cost, and precautions afterward.
What You'll Learn
- Preserve a solid existing foundation while removing failed asphalt and establishing straight driveway edges.
- Grade and compact the stone base before paving so water drains away from the house.
- This complete driveway replacement cost $6,000, including removal, base preparation, paving, and final compaction.
- Allow cooling and hardening time, then protect the new asphalt from concentrated loads and oil drips.
Table of Contents
- 1. Remove the Old Asphalt Without Disturbing a Solid Foundation
- 2. Lay Out Straight Driveway Edges
- 3. Add Quarry Process Stone and Establish the Grade
- 4. Correct Damage Before It Gets Covered
- 5. Compact the Stone Base Thoroughly
- 6. Place the Hot Mix Asphalt
- 7. Roll the Asphalt and Compact the Hard-to-Reach Areas
- How Much Did the Driveway Replacement Cost?
- Let the New Asphalt Cool and Harden
- Protect the Driveway When Working on Cars
1. Remove the Old Asphalt Without Disturbing a Solid Foundation
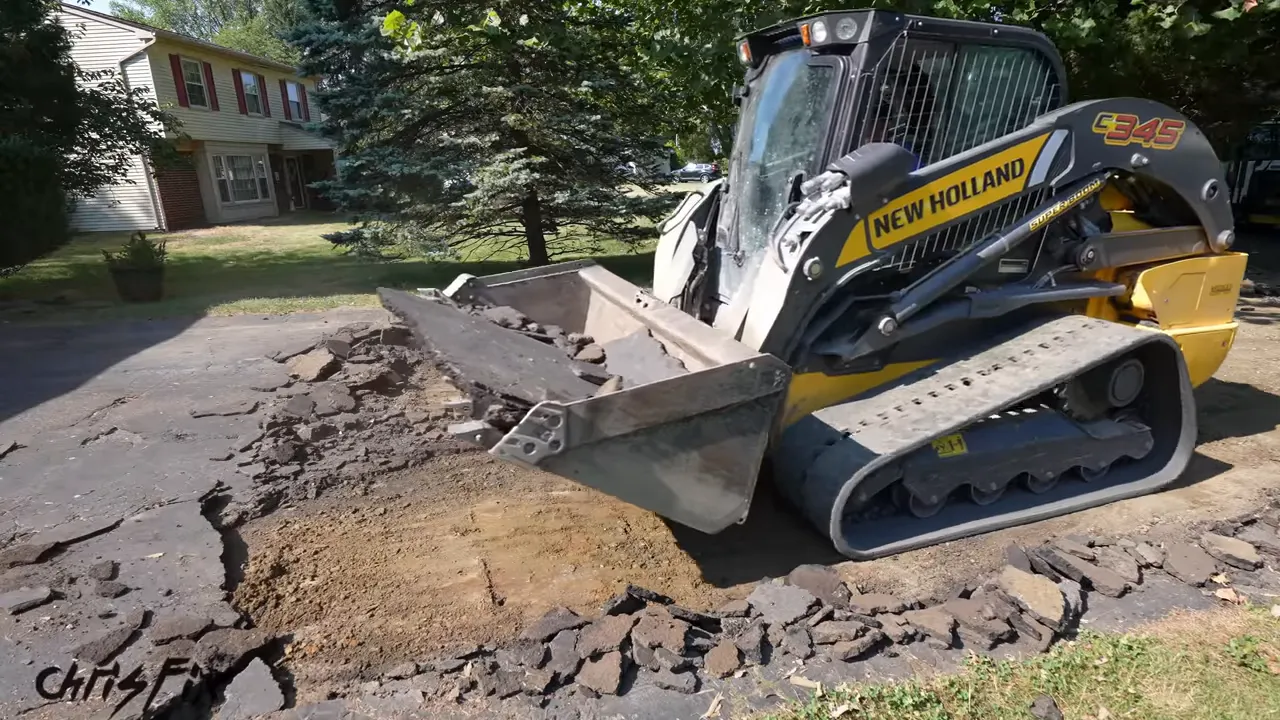
The crew started at the sidewalk with a skid steer fitted with a toothed bucket. The goal was to get underneath the asphalt and pry it up without damaging the concrete sidewalk or digging unnecessarily deep into the ground.
That second part matters. Underneath this roughly 30-year-old driveway was a hard, densely compacted layer of dirt and rock. That existing foundation was worth preserving. Digging into it just to loosen everything up would undo one of the advantages we already had.
Once the bucket got under the asphalt, large sections peeled up and went straight into it. Each full bucket was dumped into a truck, and the process repeated up the driveway.
Why another layer of asphalt was not the answer here
During removal, you could see that my old driveway had two separate asphalt layers. The original installation had only about one inch of asphalt. After it started cracking, another layer had been added rather than removing and rebuilding the failed surface.
That history is important: adding asphalt on top had not corrected the underlying problems. With the driveway now breaking apart and sinking at the garage, another cosmetic layer was not the solution.
At the garage, the operator worked with a spotter to avoid hitting the doors or concrete slab. Once the last sections were broken loose, the workers picked them up by hand and loaded them into the bucket. That gave them more control right next to the building.
By the end of demolition, the truck held about 25 tons of old asphalt. It went back to the asphalt plant to be processed into small pieces, often called millings, for recycling into new paving material.
2. Lay Out Straight Driveway Edges
With the old asphalt gone, the crew established the new edges before spreading stone.
- Pull a rope tight from one end of the driveway to the other.
- Mark the straight line with paint.
- Repeat the layout on the opposite side.
- Cut the ground along each painted line.
They used a mattock on one side and a basic shovel on the other. Either approach created a clean boundary for the new driveway.
This is a small-looking step that makes a big difference in the finished result. Instead of following the old crumbling edges, the new asphalt gets a straight, deliberate outline.
3. Add Quarry Process Stone and Establish the Grade
The exposed ground was hard, which was good, but it was not evenly graded. The crew used quarry process stone, also called QP stone, to correct the high and low areas and prepare a consistent surface for paving.
For this replacement, they added approximately one to two inches of stone over the existing dense foundation. For a new driveway without that established foundation, the starting point discussed was about four to six inches of QP stone. Those are different situations, so the thin leveling layer used here should not be mistaken for a complete base specification for every property.
The skid steer spread the stone across the driveway, then used its bucket to knock down high spots and fill low spots. Workers followed with rakes, paying particular attention to the edges.
Flat does not mean perfectly horizontal. The driveway needed a slight slope toward the street so rain could run away from the house instead of collecting in depressions or entering the garage.
A useful trick: make a dry run with the asphalt paver
After the bucket work and hand raking, the owner of the paving company took the preparation one step further. He backed the asphalt paver up the driveway and made a pass over the stone without laying asphalt.
The screed, the flat leveling assembly at the back of the paver, smoothed out excess stone. At the same time, the machine’s weight helped compress it.
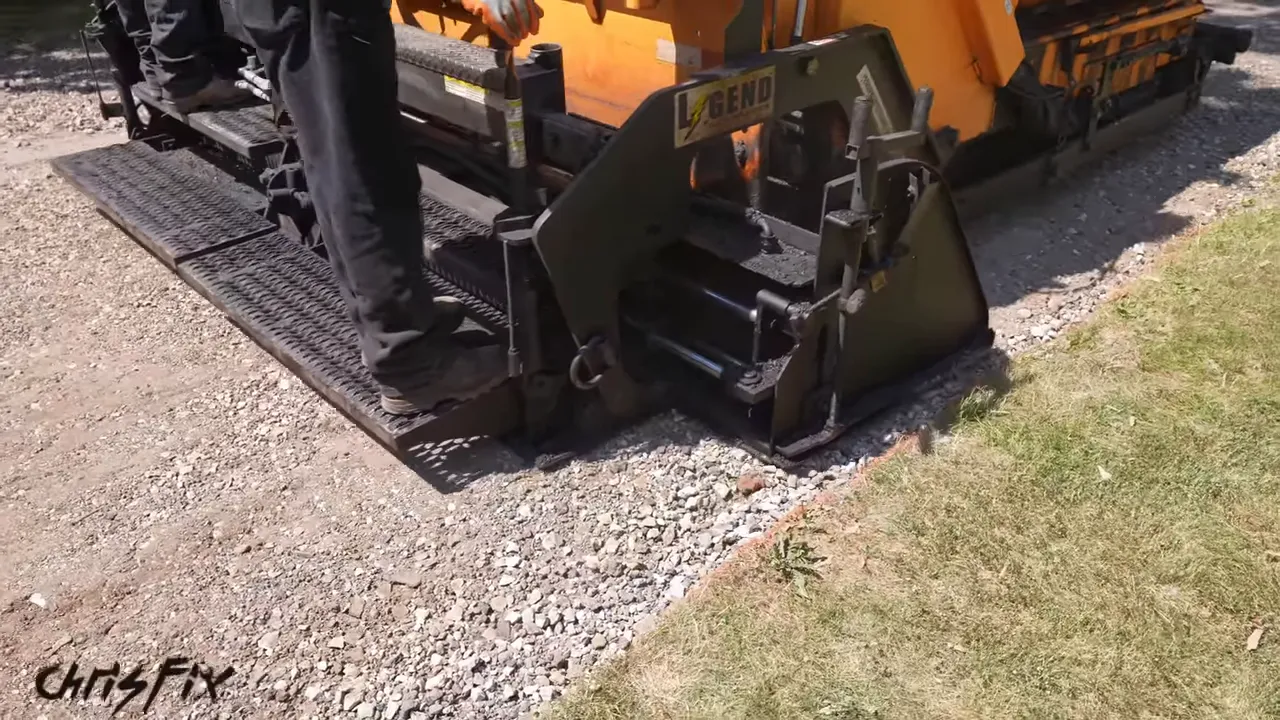
It makes sense: this is the machine that will establish the asphalt surface in the next stage. Running it over the base first helped create a more consistent foundation.
4. Correct Damage Before It Gets Covered
During grading, I noticed that a corner of the concrete walkway to the front door had been damaged. Luckily, this was still an easy stage to address it. Waiting until after paving would have made the repair much more involved.
The crew snapped a chalk line across the concrete, then followed it with a gas-powered concrete saw fitted with a diamond blade. They removed the cut pieces and filled the open area with stone so it could be graded and compacted with the rest of the driveway.
Concrete cutting creates hazardous dust, not just a mess. Water was used to suppress dust during the cut. Proper dust controls and protective equipment matter here; OSHA’s crystalline silica guidance provides additional safety information.
The practical lesson is simple: check the walkway, garage slab, and surrounding edges while the base is still exposed. Speak up about damage before the finished surface goes down.
5. Compact the Stone Base Thoroughly
Before paving, the crew wet the stone and compacted it with a tandem roller weighing about 4,000 pounds, or 1,800 kilograms.
Moisture helps the material compact. Think of the difference between dry sand that falls apart and damp sand that holds together when you build a sandcastle. The same basic idea helps explain why the crew added water before rolling.
The roller did more than press down with its weight. Its vibration feature helped the stone, dirt, and fine particles settle closer together.
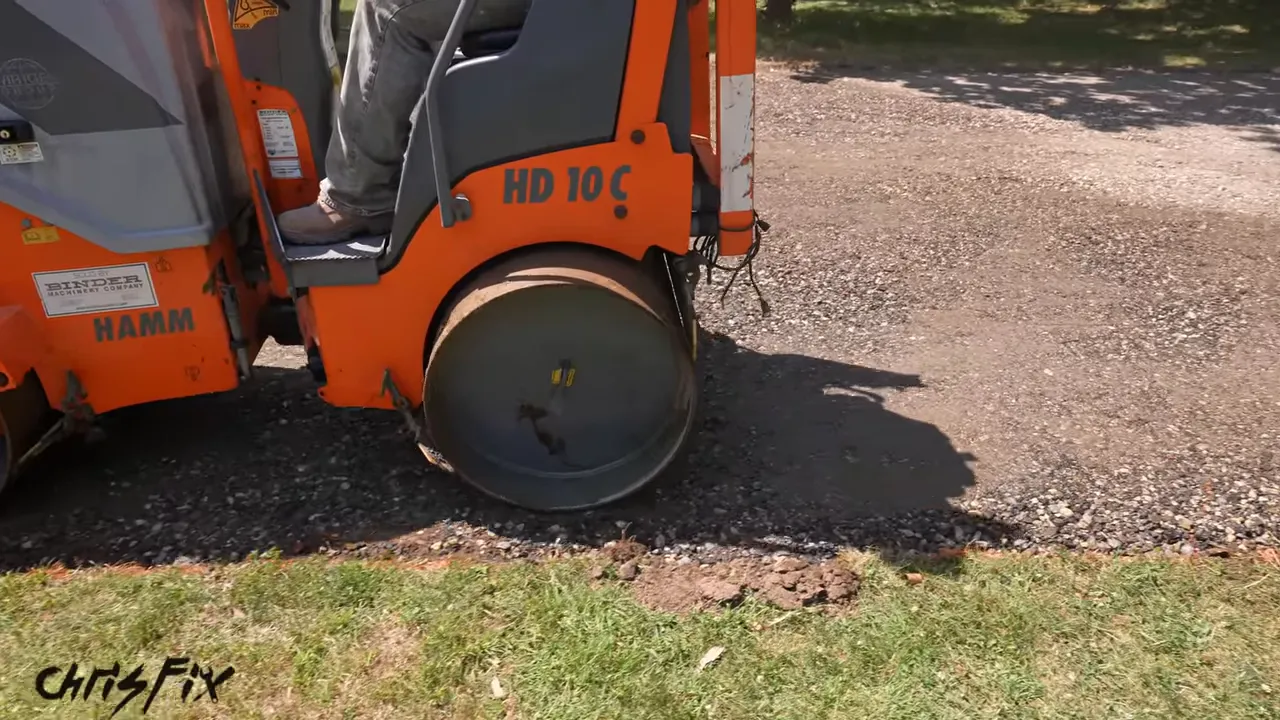
The operator made multiple overlapping passes up and down the driveway to cover the whole area. This step is not something to rush through just because the base already looks smooth. A smooth-looking surface and a well-compacted foundation are two different things.
I also liked that the crew cleaned their machines after each stage. Even though the equipment worked every day, they took care of it immediately rather than allowing material to build up.
6. Place the Hot Mix Asphalt
With the base ready, the asphalt paver warmed up while the workers marked the driveway’s center. This driveway was wide enough to require two paving passes.
The truck returned from the plant with approximately 25 tons of I-5 hot mix asphalt. The material was around 300°F, or 150°C, as it was loaded into the paver. This is heavy-equipment work with extremely hot material, not a hand-tool driveway repair.
Start by getting the garage transition right
The machine could not place material all the way against the garage, so the crew spread that section by hand first.
They checked it with a level and straightedge to make sure there were no low spots and that the surface sloped away from the house. This was also the opportunity to eliminate the sunken lip that had been catching my toolbox wheels.
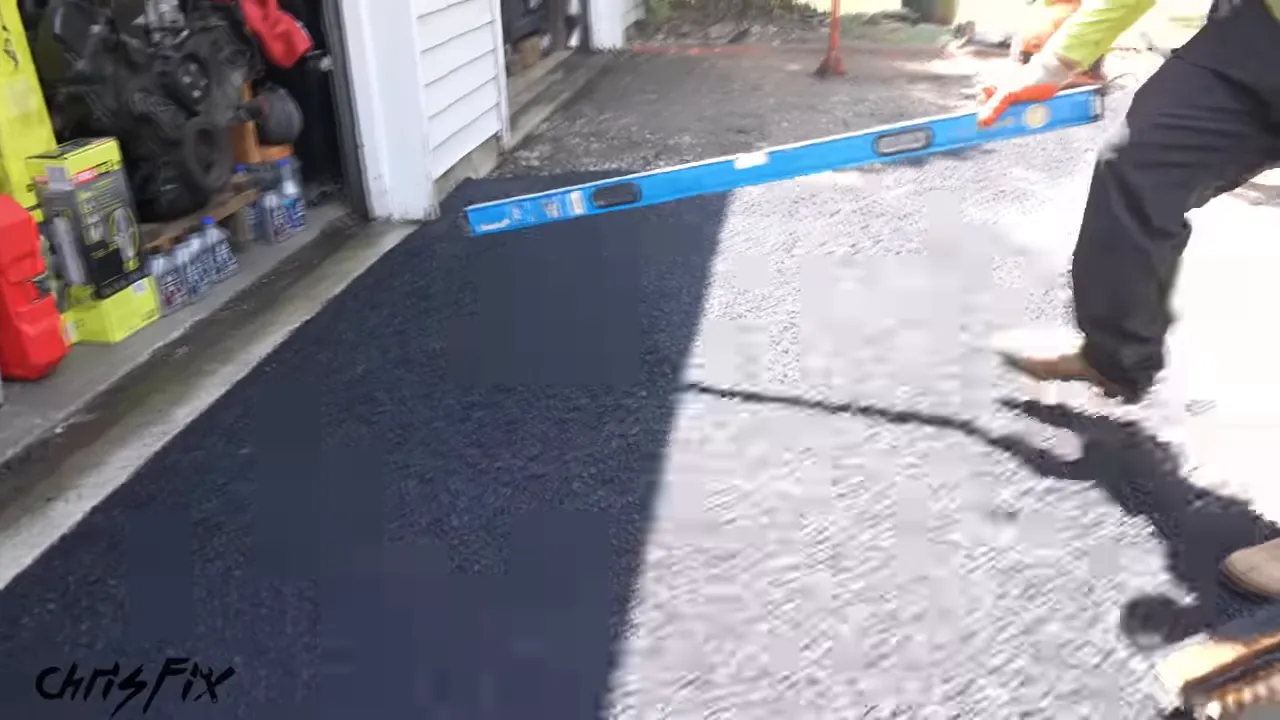
Once that section had the correct thickness and grade, the paver backed onto it and prepared to make its first pass.
Use the screed and extensions to control the surface
The crew extended the paver’s sides to match the driveway edge, lowered the screed, and began moving toward the street.
Loose hot mix fed through the machine and emerged behind the screed as a smooth, partially compressed surface. The side extensions helped contain the material and maintain a straight edge next to the grass.
At the bottom, the workers finished the transition to the sidewalk by hand. That connection needed to let water continue toward the street rather than leave a depression where it could puddle.
Then the paver returned for the second half. It slightly overlapped the first pass, and the crew adjusted the thickness controls as they worked to keep both sides consistent.
7. Roll the Asphalt and Compact the Hard-to-Reach Areas
The asphalt looked good coming out of the paver, but it still needed final compaction.
The tandem roller made repeated passes over the hot mix, turning the rougher surface into a smoother, denser finish. You could clearly see the difference between the freshly placed asphalt and the areas the roller had already compressed.
Where the roller could not reach, especially right along the garage, the workers used a smaller plate compactor. After the roller finished, they continued with the plate compactor around the driveway to touch up the surface and edges.
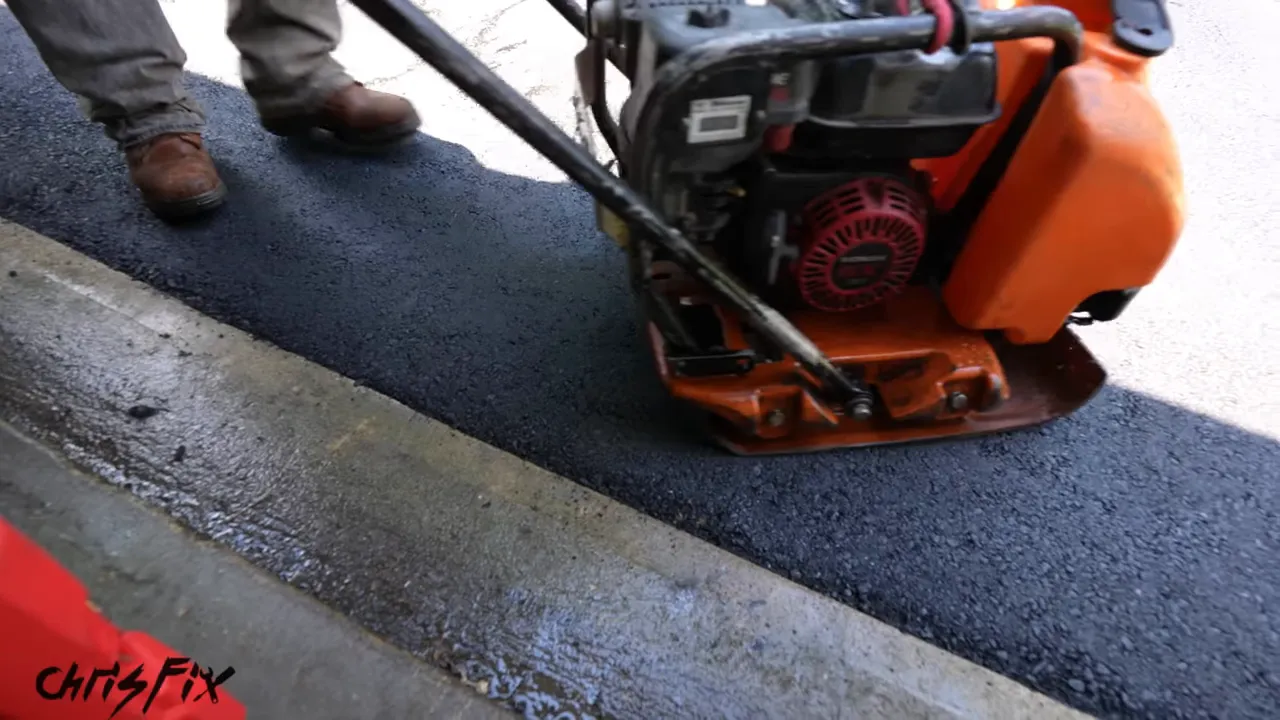
Water helped keep hot asphalt from sticking to the equipment as the crew worked toward a uniform finish.
From tearing out the old driveway to completing the new surface, the whole job took a little over four hours. That was the construction time, though, not the time until the driveway was ready for normal use.
How Much Did the Driveway Replacement Cost?
My total was $6,000, or approximately $5.45 per square foot. The work was done by Platinum Paving, and that price covered the complete replacement:
- Digging up the existing asphalt.
- Loading and hauling away the old driveway.
- Installing the QP stone leveling base.
- Grading, leveling, and compacting the stone.
- Placing 3½ inches of commercial-grade I-5 hot mix asphalt.
- Rolling and finishing the new surface.
To use my project as a rough comparison, multiply your driveway’s square footage by $5.45. Treat that as a reference for this particular job, not a guaranteed current price for your property. The scope matters, especially whether your existing foundation can be retained as mine was.
Let the New Asphalt Cool and Harden
Even after the machines left, the driveway was radiating heat. My thermal camera showed areas around 140°F to 180°F, or 60°C to 82°C. The half installed first was already cooler than the half placed afterward.
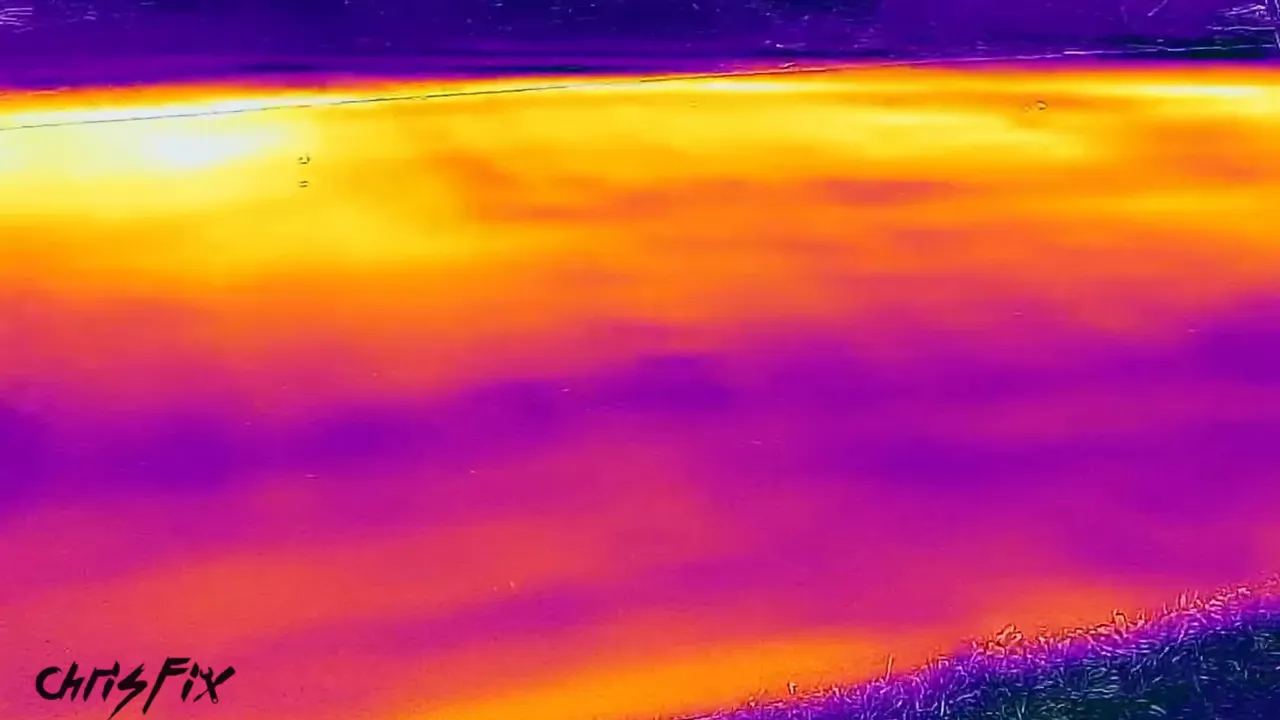
The crew gave me these instructions for this installation:
- Foot traffic: Stay off until it had cooled, allowing about one or two days.
- Vehicle traffic: Keep cars off for at least one week.
- Continued hardening: Expect the asphalt to keep hardening over roughly six to twelve months.
I kept the cars off for two weeks to give it extra time. Follow your own installer’s guidance rather than assuming that a surface that looks finished is immediately ready for traffic.
Protect the Driveway When Working on Cars
Two weeks later, the difference was not just cosmetic. The potholes were gone, the edges were straight, and the toolbox rolled in and out of the garage without needing to be lifted over a ledge. Man, I should have done this sooner!
An unloaded jack stand also sat without the wobble it had on the old driveway. But there is an important catch: a stand sitting flat does not mean fresh asphalt is safe under a concentrated vehicle load.
The narrow, sharp edges on jack stand feet can dig into asphalt while it continues to harden. I demonstrated placing wood underneath to spread the load over a larger area and help prevent impressions. Surface protection is not a substitute for safe vehicle support, however. Use a hard, level supporting surface that meets your lifting equipment’s requirements, and never rely on appearance alone.
Prevent oil stains before they happen
I also wanted to keep oil from staining the brand-new driveway. My solution was an oil spill mat beneath the work area.
The mat has an absorbent upper layer and a plastic backing underneath. The top catches drips, while the backing helps keep them from soaking through onto the asphalt. That is a simple bit of protection for a driveway that is going straight back to being a workspace.
|
As an Amazon Associate, I earn from qualifying purchases.
A complete driveway replacement is much more than laying down fresh asphalt. Preserving a sound foundation, correcting the grade, compacting the base, and getting the transitions right are what make that new surface useful. Now the driveway looks great, the toolbox rolls smoothly, and I can get back to fixing cars.


