Hazy, yellow headlights can make an otherwise clean car look worn out. The good news is that you can remove that oxidation and get the lenses clear again without buying replacement headlights.
The key is to do more than clean the surface. Remove the damaged outer layer, then replace its protection with a UV-resistant clear coat. That protective coating is what separates this approach from a quick cleanup that leaves the plastic exposed.
For this project, my supplies cost about $20, or roughly $10 per headlight, assuming you already have basic items such as scissors and paper towels. Prices will vary, but that is a small investment compared with replacement headlights that can cost $100 to $250 or more each.
What You'll Learn
- Wet sanding removes the damaged outer surface; UV-resistant clear coat restores a protective barrier.
- Start with 400 grit for heavy oxidation or 600 grit for less-damaged lenses.
- Keep sanding surfaces wet and expect a fine haze before applying clear coat.
- Apply light coats and follow the coating’s instructions for recoating, curing, and finishing.
Table of Contents
- Why Headlights Turn Yellow Again After Cleaning
- Supplies You Need
- 1. Remove the Headlight or Protect the Surrounding Paint
- 2. Wet Sand the Oxidation Away
- 3. Clean the Lens, Then Lightly Wet Sand with 2000 Grit
- 4. Mask the Car Against Overspray
- 5. Apply Three Light Coats of Clear
- 6. Inspect the Finish and Add the Final Touches
Why Headlights Turn Yellow Again After Cleaning
Plastic headlights have a protective outer coating. Road debris and everyday wear gradually damage that protection, leaving the surface vulnerable to yellowing, oxidation, and haze.
Toothpaste, baking soda, vinegar, bug spray, and polishing methods may make a lens look clearer temporarily. But removing the haze is only part of the job. If you do not restore the protective barrier, the surface can become cloudy again.
This method uses wet sanding to remove the deteriorated surface, followed by a gloss clear coat suitable for plastic. The clear coat fills the fine sanding scratches and provides a new protective layer.
The goal is a lasting restoration rather than repeated polishing or frequent sealer applications. Actual durability depends on the coating, preparation, application, and exposure, so treat “permanent” as the aim of the repair rather than a lifetime guarantee. I also shared a one-year clarity update and a two-year follow-up.
Supplies You Need
You do not need a power sander or a polishing machine for the basic process. Here is the supply list:
- 400-grit sandpaper: For heavily yellowed or badly oxidized headlights.
- 600-grit sandpaper: For refining the coarse sanding, or as the starting grit for less-damaged headlights.
- 2000-grit sandpaper: For the final light wet sanding before clear coat.
- Water and a spray bottle: A hose or another water source also works.
- Rubbing alcohol: For cleaning the lens before coating.
- Low-lint paper towels: For wiping and drying.
- Wide painter’s tape: To protect the surrounding paint and secure the masking.
- A garbage bag and scissors: To make an overspray cover if the headlight stays on the car.
- Gloss clear coat: Suitable for plastic, non-yellowing, and UV-resistant.
- Carnauba car wax and a microfiber towel: For the final finish once the coating permits waxing.
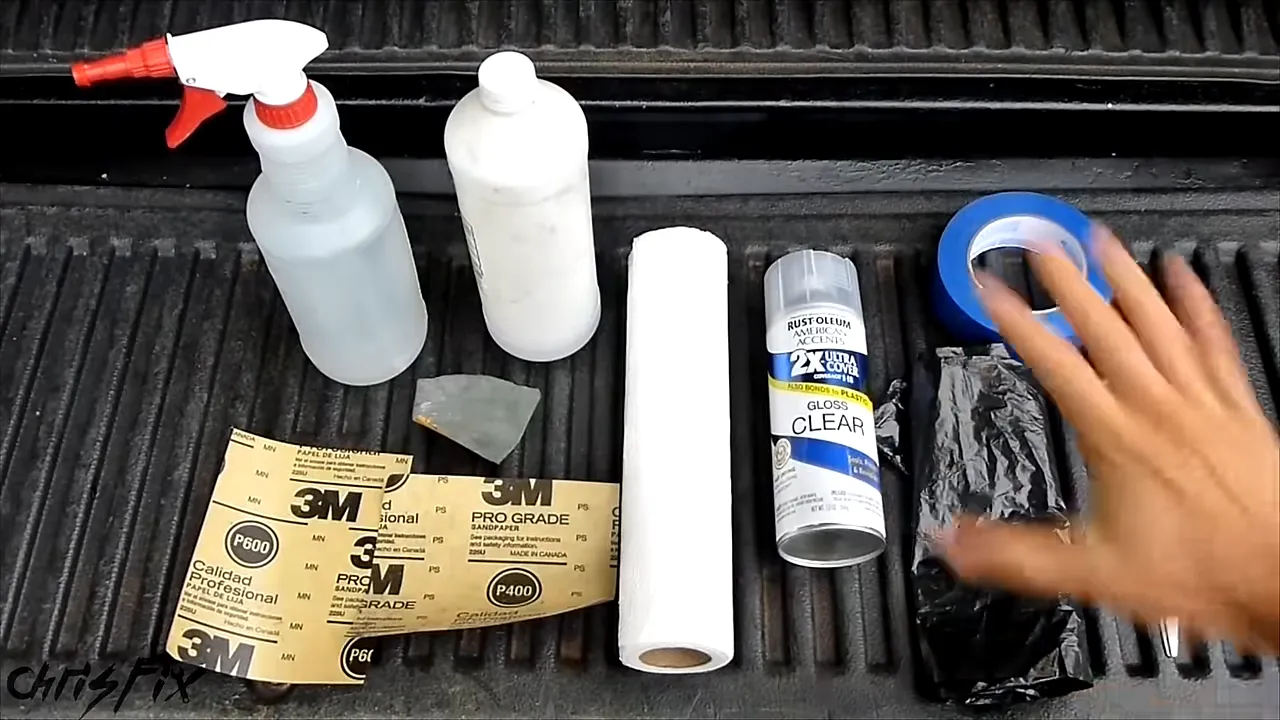
The clear coat matters. Do not choose a can simply because it says clear. Check that it is appropriate for the plastic surface and offers UV resistance and non-yellowing protection. Follow its instructions for surface preparation, spraying, recoating, curing, and finishing.
Use safe practices when working with cleaners and aerosol coatings, including the ventilation and protective equipment specified on the product label. For additional background, OSHA provides spray-operation safety guidance.
1. Remove the Headlight or Protect the Surrounding Paint
If your headlights are easy to remove, take them off. It is easier to sand and coat them away from the vehicle.
On this PT Cruiser, removing the headlights is enough of a hassle that I am leaving them installed. You can get a great result either way. Keeping them on the car simply means spending more time masking.
Before sanding, run wide painter’s tape around the entire headlight. Cover every painted edge your sandpaper might touch, including the areas along the hood, fender, and bumper.
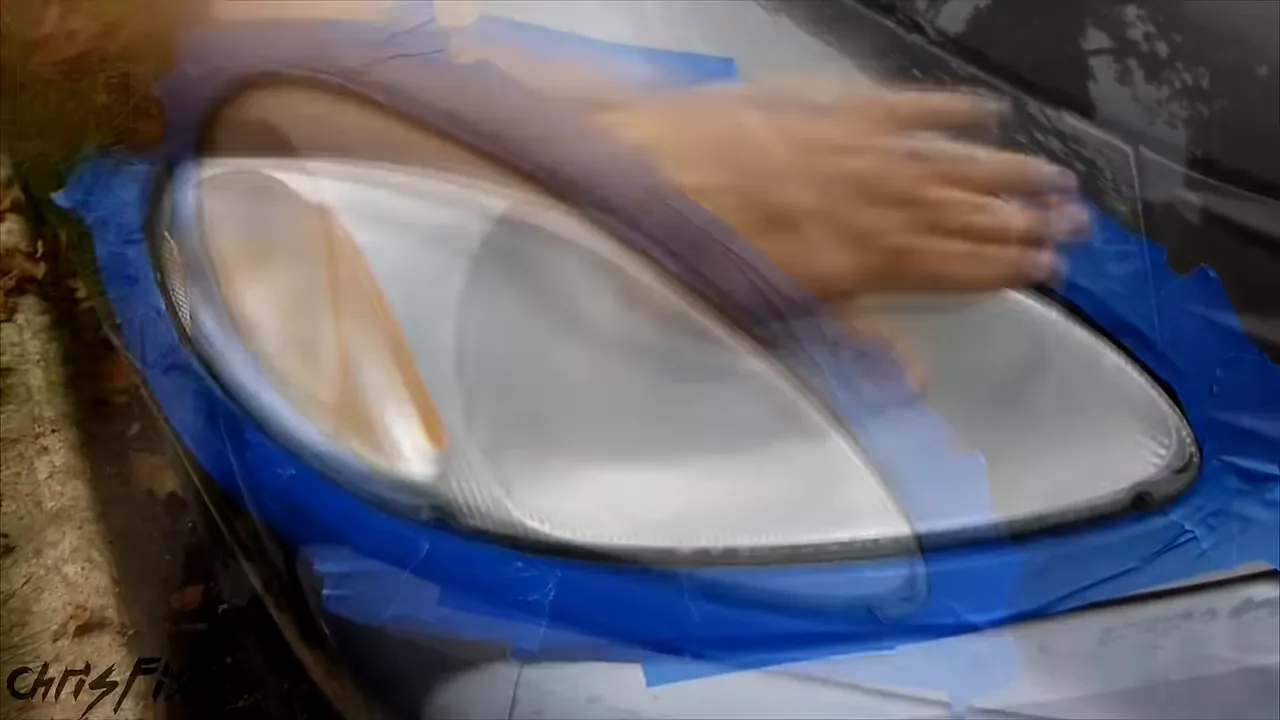
Take your time around the corners. You want a continuous protective border, not a few pieces of tape with exposed paint between them. The wide border will also give you somewhere to attach the overspray cover later.
2. Wet Sand the Oxidation Away
Start with 400 grit only if the lens needs it
These headlights are badly oxidized, so I am starting with 400 grit. If yours are only moderately cloudy, start with 600 grit instead.
Spray the headlight generously with water, then wet the sandpaper. Keep both surfaces wet throughout the sanding process. Water lubricates the surface and helps prevent unnecessarily deep scratches.
- Begin with light pressure and circular motions.
- Work across the entire lens, including its grooves and shaped edges.
- Add water frequently so the sandpaper never runs dry.
- Finish the grit with horizontal passes across the lens.
You will notice milky runoff as you work. That is material coming off the surface as you remove the damaged layer. It is expected, but it does not mean you need to press harder.
Be especially gentle with 400 grit. It is coarse enough to do the work without heavy pressure. The aim is to remove the yellow, oxidized surface, not grind deeply into the lens.
Refine the surface with 600 grit
Once the yellow oxidation is gone, wet the lens and the 600-grit paper again. Repeat the process, starting with circular motions and finishing with horizontal strokes.
You can use slightly more pressure than with the 400 grit, but keep it controlled. The finer paper refines the previous scratches and leaves the lens smoother.
My final passes at each stage are horizontal rather than circular. This leaves a consistent scratch pattern for the coating instead of swirls.
At this point, the lens will still look cloudy. Look closely at what kind of cloudiness remains: the yellow, deteriorated layer should be gone, leaving an even sanding haze.
3. Clean the Lens, Then Lightly Wet Sand with 2000 Grit
Before moving to 2000 grit, rinse the lens and wipe it with a paper towel. This step matters because loose sanding debris can clog the very fine paper and interfere with the final sanding.
Now wet the lens and the 2000-grit paper. Use very light pressure, just skimming the surface to soften the scratches left by the 600 grit. Start with circular motions and finish with horizontal passes again.
You are not trying to polish the bare plastic to complete clarity. A uniform, fine haze is normal before clear coat. The coating is what will fill those tiny scratches and bring back the clear appearance.
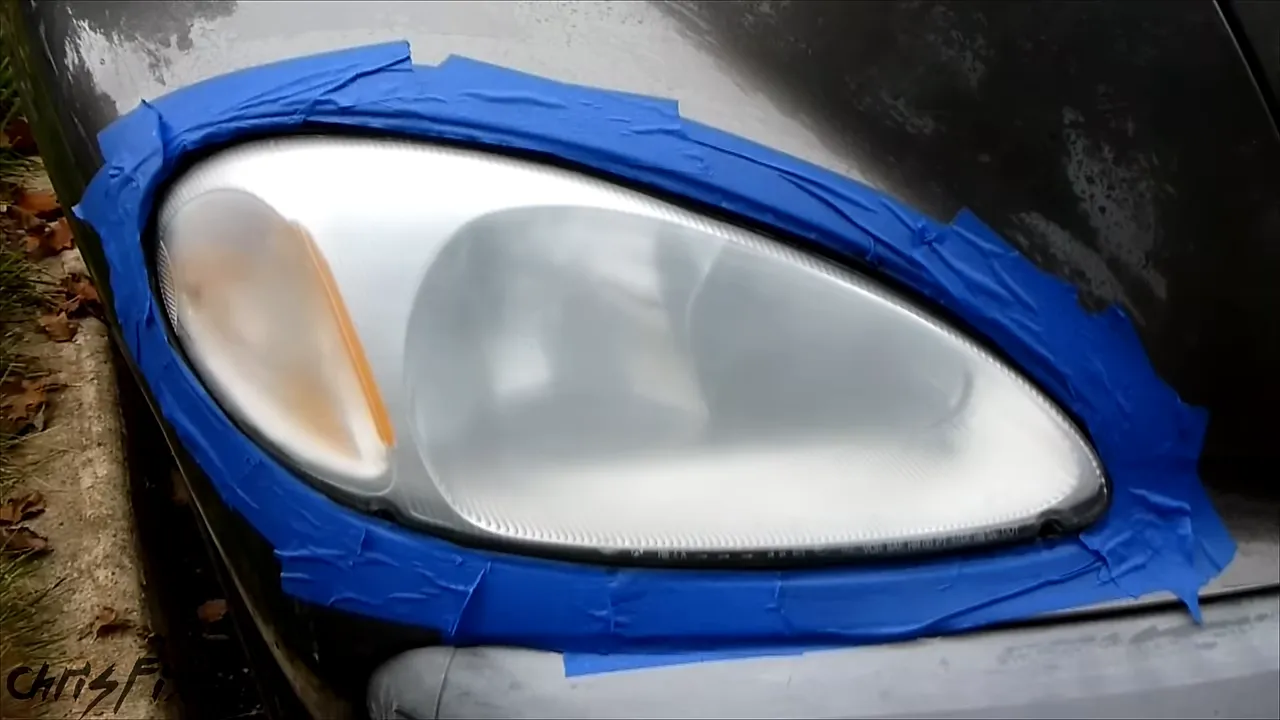
Wipe the lens dry. Then apply rubbing alcohol to a low-lint paper towel and clean the entire surface. This removes oils from your hands and helps leave the lens clean for coating.
Allow the alcohol to evaporate completely. Avoid touching the cleaned lens with your fingers.
4. Mask the Car Against Overspray
The tape around the lens protects against sanding scratches, but it is not enough protection for spraying. Clear-coat overspray can land on the hood, bumper, fender, or nearby plastic.
Cut a garbage bag open so it forms a large sheet, then spread it over the surrounding front corner of the car. Tape it down securely so it stays in place.
- Locate the headlight underneath the plastic.
- Lift the plastic away from the lens before making the first cut.
- Cut an opening that exposes the headlight while leaving plastic overlapping the original tape border.
- Tape the cut plastic edges to that border, sealing the masking around the lens.
Do not try to cut precisely against the headlight edge. The wide tape border gives you room to work and somewhere to secure the plastic without leaving surrounding paint exposed.
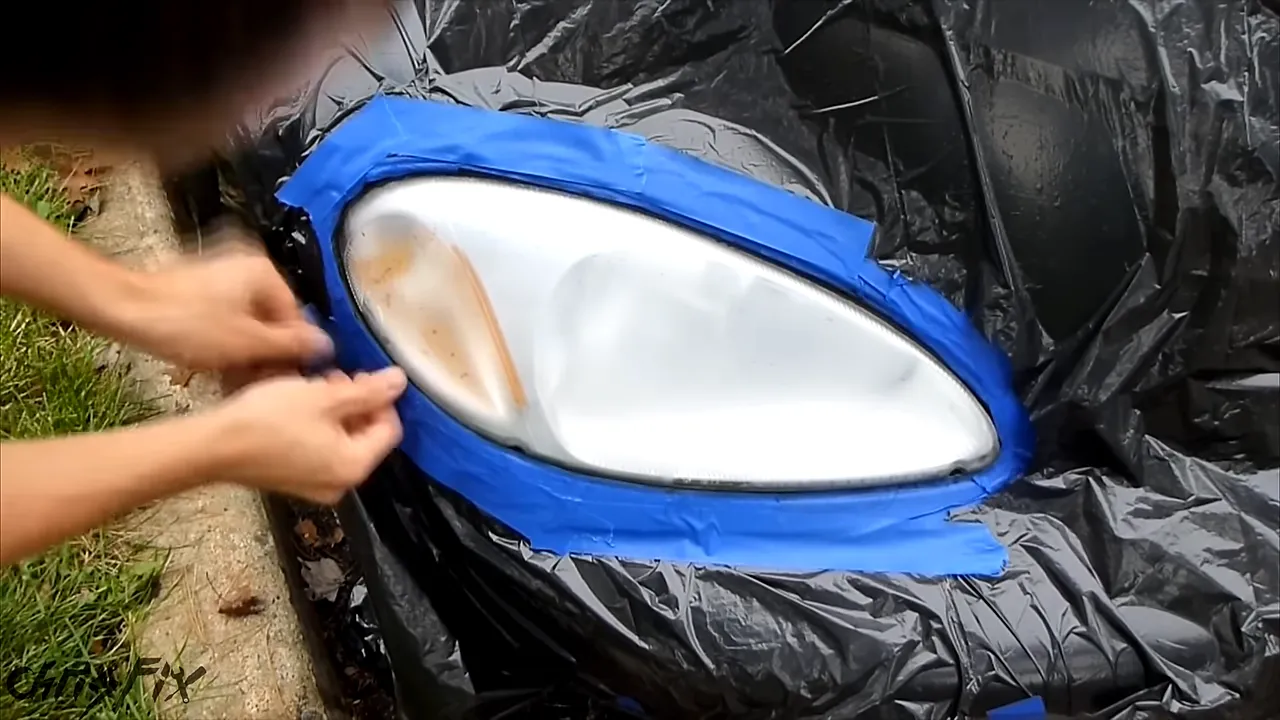
Once the masking is finished, give the lens one final alcohol wipe. Handling the bag and tape can put dirt or finger oils back on the surface, so this last cleaning is worth doing. Let it dry completely before spraying.
5. Apply Three Light Coats of Clear
This is where patience pays off. Use light, even coats instead of trying to make the headlight look perfect with one heavy coat. Thick coats can run and spoil the finish.
Follow the instructions on your chosen clear coat. For the product used here, I applied three light coats with about five minutes between coats.
- First coat: Apply a light, even layer across the lens. Do not chase every imperfect-looking spot with more spray.
- Second coat: After the specified wait, add another light layer.
- Third coat: Wait again, then apply the final light coat, checking coverage around the entire shape.
Remember the top edge and corners. It is easy to coat the broad front surface and miss the smaller areas where the lens curves away.
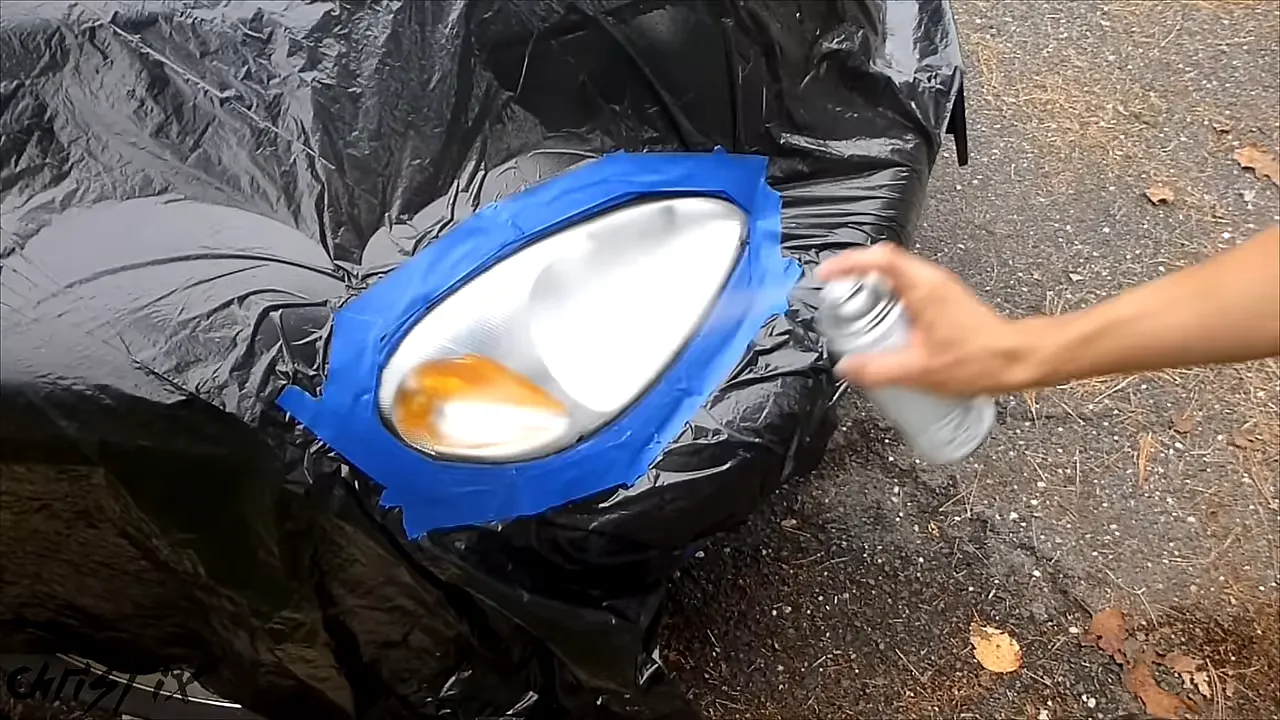
After the first coat, you may see a slightly pebbled texture called orange peel. Do not panic, and do not flood the surface trying to remove it. The appearance improves as the additional coats build.
Once the final coat is on, leave it alone to dry. For this application, I waited a full day, about 24 hours, before checking the result. Your coating’s instructions take priority because drying and curing requirements vary.
6. Inspect the Finish and Add the Final Touches
After the coating has dried, remove the plastic overspray cover and inspect the lens. The difference should be obvious: instead of looking through a dull, yellow surface, you can clearly see the reflectors and details inside the headlight.
At this stage, you have two options:
- Leave the clear coat as sprayed: If you are happy with the finish, there is no reason to sand it again.
- Refine orange peel: If the coating allows it, lightly wet sand the cured finish with 2000- or 3000-grit paper and plenty of water.
That optional sanding is for smoothing the coating, not removing more oxidation. Sanding also dulls the finish, so a compatible compound polish for orange peel correction can be part of restoring the gloss afterward. Follow the coating’s finishing instructions before attempting this step.
For my final touch, I apply carnauba car wax with a microfiber towel, allow it to haze, and buff it off, just as I would on clear-coated paint. Only do this once your clear coat permits waxing. The protective restoration comes from the UV-resistant coating, not from relying on wax alone.
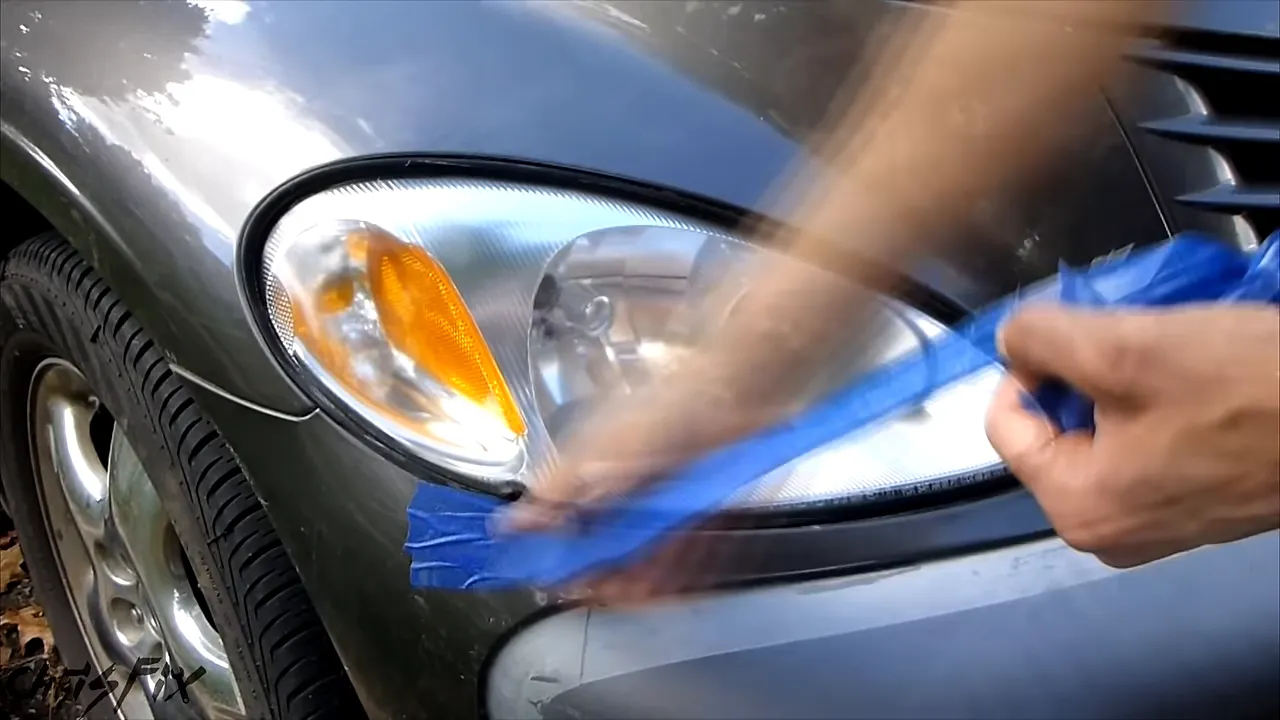
Remove the remaining painter’s tape, and the job is finished. The lens looks dramatically cleaner, and the fresh clear coat provides the protective barrier that a quick surface cleanup leaves out.
The recipe is straightforward: remove the oxidation, refine the scratches, clean thoroughly, and apply light coats of the right clear. Take your time with those steps, and you can transform a cloudy headlight without replacing the assembly or even removing it from the car.


